Action Camera: How Do I Get Stable Selfie Video From a Handheld Gimbal Camera?
Most people blame the camera when a selfie comes out soft, crooked, or half out of frame. In practice a handheld gimbal camera can produce footage a smartphone front camera simply cannot match — but only if you set it up for the way a selfie is actually shot: close range, a moving subject, and unpredictable light. These are the six settings that decide whether your selfie footage looks broadcast-clean or unusable.
Why a gimbal camera behaves differently from a phone
A phone holds the frame with software: the gyroscope tells the processor how the phone moved and the image is digitally shifted back into place. The cost is crop, and a hard limit — electronic stabilization can only correct what the sensor already captured. A motorised gimbal removes the movement before it ever reaches the sensor, so you keep the full field of view and the full resolution.
That difference matters most at arm's length. At one or two feet from the lens, a two-degree hand tremor moves the subject several percent of the frame. Digital stabilization will fight it and crop; a gimbal simply does not move.
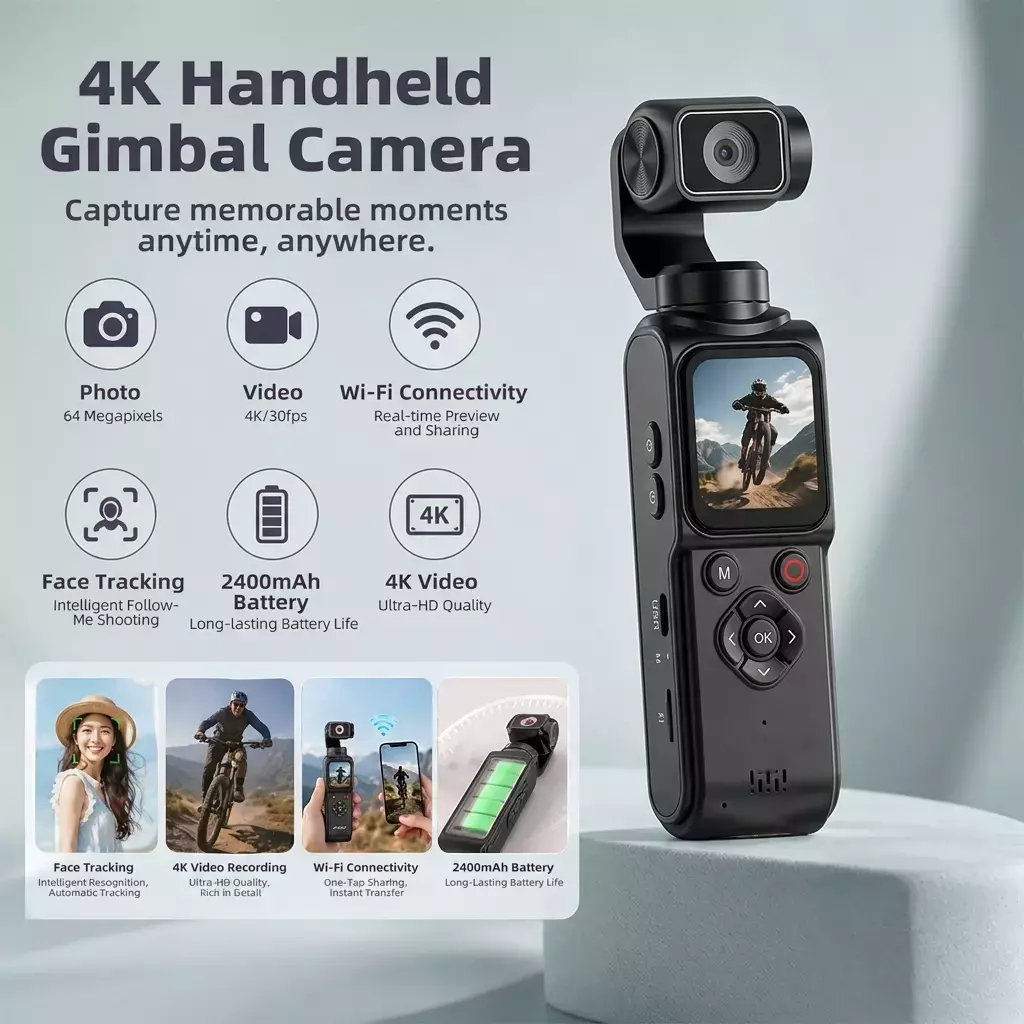
Figure 1: A handheld gimbal camera keeps the full field of view because the motors remove motion before it reaches the sensor.
Step 1 — Flip the head, do not swivel the whole camera
On a dual-form-factor gimbal camera such as the AT-M105 there are two ways to face the lens back at yourself: rotate the head on its yaw axis, or press the one-click flip button that rotates the camera head 180° in a single motion. Use the flip button. A yaw rotation puts the gimbal into a corner of its travel, so a small hand movement can hit the mechanical stop and produce a visible jolt. The flip keeps the head near the centre of its range, which is where stabilization is smoothest.
Step 2 — Arm face tracking before you raise the camera
Face tracking needs a clean reference frame to lock onto. If you enable it after the camera is already moving at arm's length, the tracker may lock onto a background face, a poster, or nothing at all. The reliable sequence is: mount the camera, frame yourself at your final distance, let the tracker confirm the lock on your face, then start recording. Handheld selfie footage shot this way holds the subject far more consistently than footage where tracking is switched on mid-move.
Step 3 — Lock exposure and white balance on your face, not the sky
This is the single biggest cause of bad selfie video. When auto-exposure meters a bright sky behind you, it stops down and turns your face into a silhouette. Tap or centre the metering point on your face, then lock it. If you are shooting with the sun behind you, tilt the camera down slightly so more of the ground fills the top of the frame — the meter will read a darker scene and hold your face properly exposed.
Step 4 — Keep 18–24 inches of distance
Wide-angle selfie lenses distort anything close to the edges. At eight inches your nose grows and your ears shrink; at three feet you have to shout to be picked up by the built-in microphone. Eighteen to twenty-four inches is the sweet spot: faces keep natural proportions and the microphone still captures a clean voice. If you need a tighter frame, use the 18× digital zoom and step back, rather than moving closer.
Step 5 — Pick the frame rate for the light you actually have
Higher frame rates do not create light. Shooting 4K at 60fps indoors halves the exposure time per frame, so the camera compensates by raising ISO and your footage turns grainy. In daylight, 4K/30 or 4K/60 is excellent. Indoors, drop to 1080p/30 and keep the ISO low. If you must shoot indoor 4K, add a light in front of you — front fill is far more effective for selfies than lifting the whole room.
Step 6 — Trust the screen, not guesswork
The 1.7″ flip screen exists precisely so you can see the real frame — headroom, eye line, background clutter. Check three things before every take: your eyes should sit about one third of the way down the frame, the horizon should be level, and nothing distracting should be growing out of your head. This takes five seconds and prevents the most common reason a take has to be re-shot.
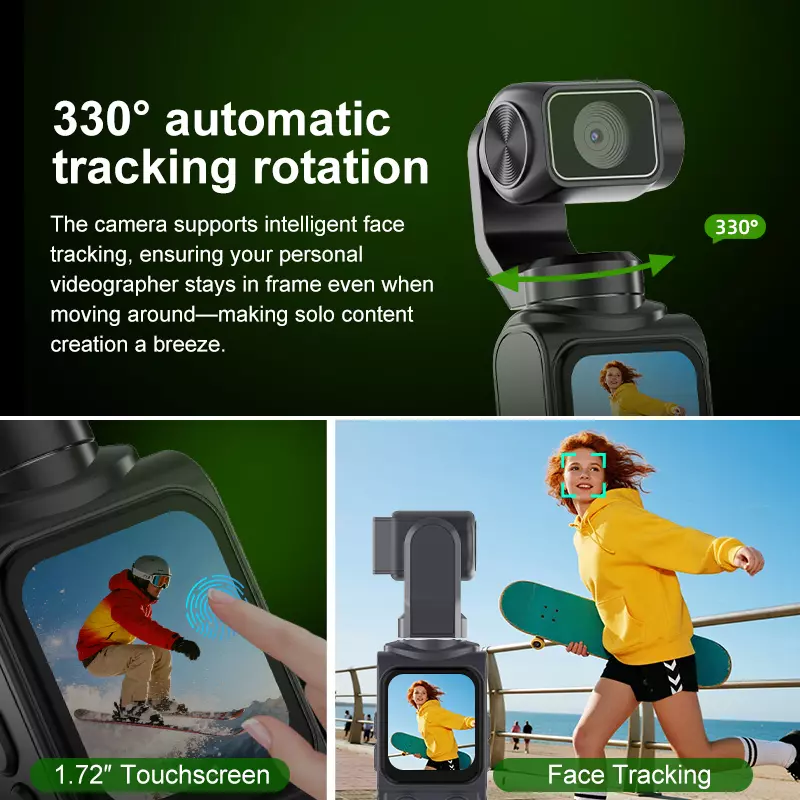
Figure 2: With auto-rotation tracking and a live flip screen, framing becomes a five-second check instead of trial and error.
The five-second checklist
• Flip the head with the one-click button — never yaw it into a corner.
• Let face tracking confirm the lock on you before you start recording.
• Lock exposure on your face, not the sky behind you.
• Hold 18–24 inches away; zoom in rather than leaning in.
• Drop the frame rate before you raise the ISO.
• Check eyes, horizon and background on the flip screen every take.
Where to go next
All six steps above apply to the AT-M105 4K pocket vlog gimbal camera, which combines a motorised 330° head, one-click flip selfie and 2400mAh battery in a body that fits a jacket pocket. If you are comparing form factors before buying, our guide to how action camera stabilization works explains when a gimbal beats in-body EIS and when it does not.
